
Lucky for me, I have amazing parents who are
overly supportive and encourage me to have a go at everything. They also had
some great knowledge after laying their own floor about 9 years back. Mum also
volunteered to help with the actual laying, as really it is a job that requires
two people.
I won’t do any fancy tutorial as really I don’t
see myself as an expert at all, and really we just figured it out as we went
along. I’m sure there are better ways of doing things but we did what worked
for us and I think the result is looking pretty amazing.
We're still not quite finished, just a few last rows to go in which will hopefully happen this weekend. We are also yet to install the skirting timbers, so the floors are not fully complete yet.
We're still not quite finished, just a few last rows to go in which will hopefully happen this weekend. We are also yet to install the skirting timbers, so the floors are not fully complete yet.
….....................
So heres a little run down of how we did it.
First up we laid the underlay, basically just a
thin foam with a waterproof barrier which helps protect moisture coming up from
the slab and damaging the boards. We just stuck it together with tape, nothing
fancy it really doesn’t need to be as the boards hold it all down.

I then used our new multi-tool to undercut my
doorways. This tool is awesome, we just used a spacer the right height to rest
the blade on, and then it just cuts its way through. This one was only about $60
and came with heaps of different accessories. You can get better quality ones
but for this job this was more than adequate. It cuts a perfectly even line.


Then there was quite a bit of umming and ahhing
over where to start, we decided to start in the end bedroom, so we could get a
bit of practice in before laying the more important living areas.
We used spacers, all the same size to ensure we
left an expansion gap. These types of floors can expand and contract in
different temperatures and humidity levels so this is important. My spacers
were 8mm thick, this was to enable my 12mm skirting timbers to be able to cover
the gaps. As we progressed some of these gaps were a bit bigger and some a bit
smaller, it would be impossible to get it perfect.


To install the boards is actually a very simple
process as they just click together, generally we would click them in sideways,
and then tap them down with a hammer to ensure they were locked tightly together. We cut the
end off a board and used this as our ‘tapper’ as the grooved edges fit together
and the bagging doesn’t damage the boards then. The tapper starts to look a bit
worse for wear after a while. Occasionally the layout would require the boards
to be laid end-to-end first and then tapped sideways.

A lot of cuts were required to get boards the
right length and also to cut around the doorways and angles. We used my new jig
saw which was a Christmas gift from my parents, it worked really well. We
clamped boards down so they didn’t move about.
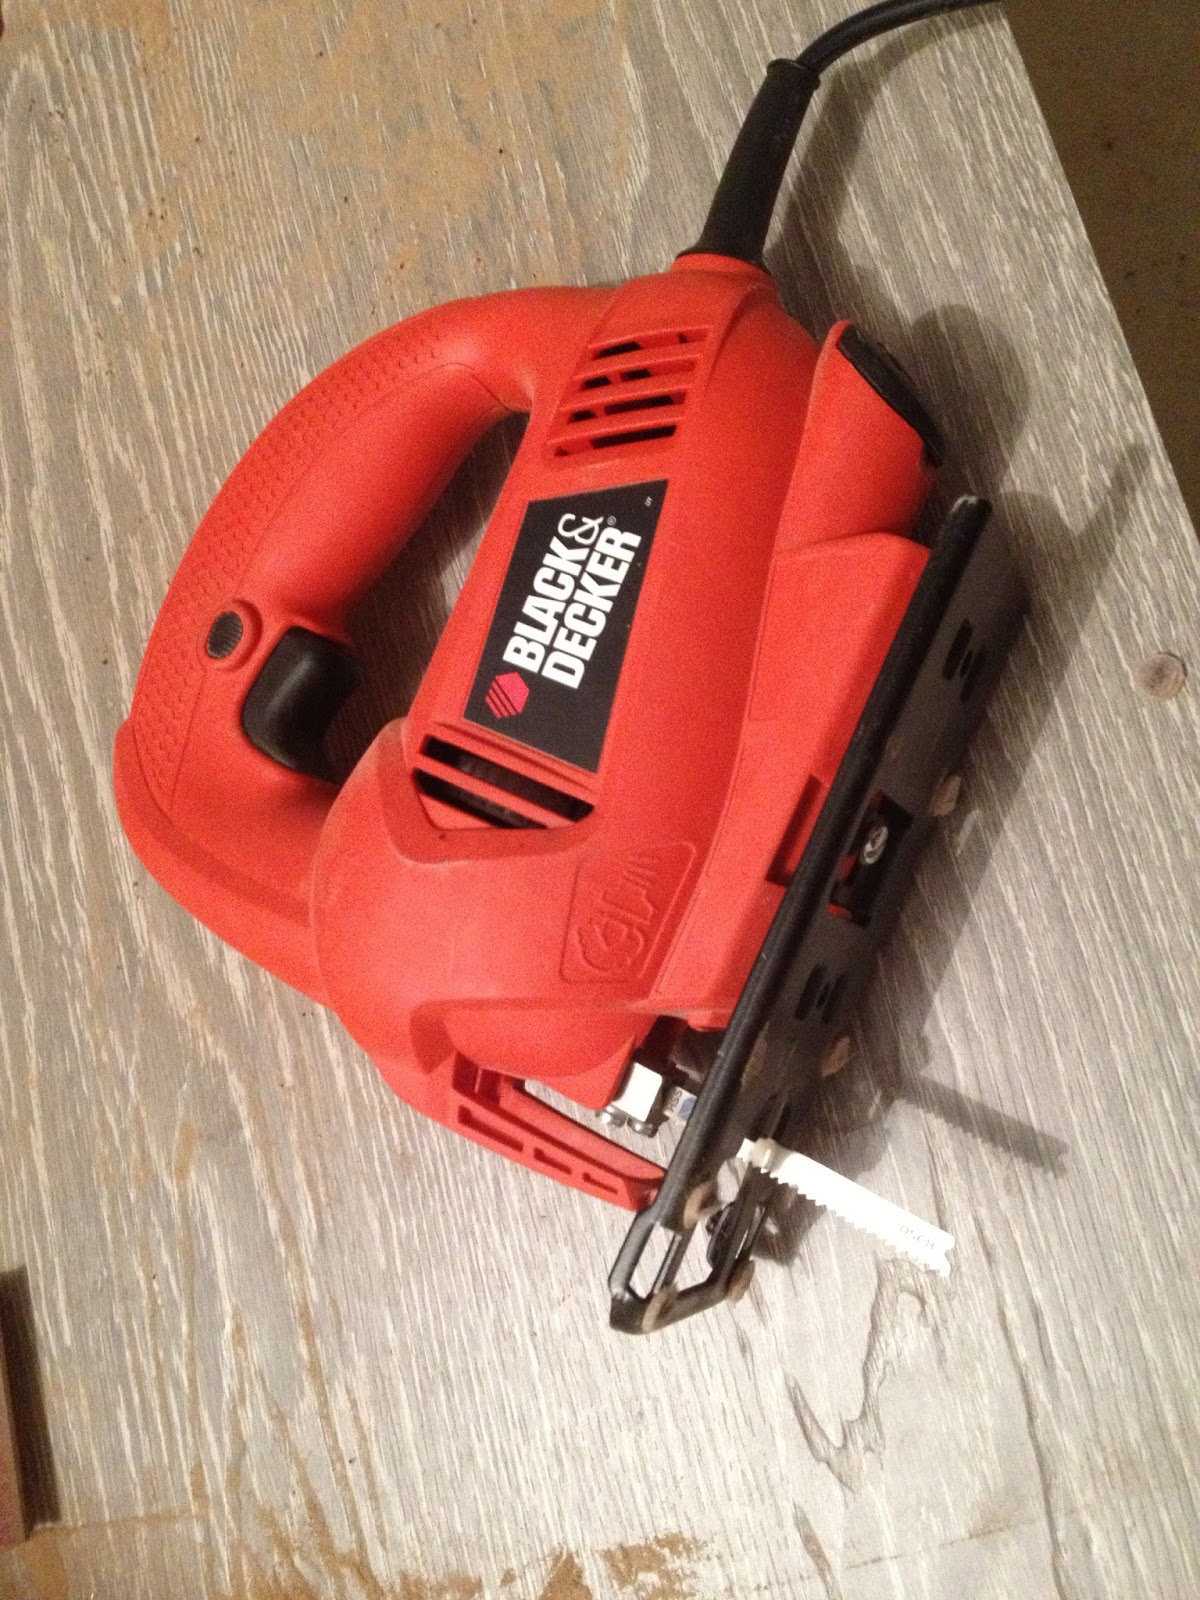

We went through A LOT of blades though. My
boards are 12mm thick, and must be pretty tough because after a while blades
would get blunt and make cutting really hard. We tried a variety of different
blades, wood and metal blades, also different brands, but none really seemed to
last any longer than others. Our preference was probably the metal blades as
the cuts were slightly smoother.

We went against the instructions which
recommended all cuts be made from underneath to prevent chipping. After a few
practice runs we found our blades weren’t making any significate chips on the
top anyway. This made marking out cuts a lot easier. We stuck little felt pads
on the bottom of the jig saw to ensure it didn’t leave any rub marks as we made
the cuts.

Cutting around doorways was difficult and very
time consuming, I must say it tested my patients a few times. In some cases we
were able to slide the boards underneath the door frame for a seamless look.
But in some areas this was just not possible. Therefore we cut the boards as
close to the exact door frame size as we could and I will fill in the small gap
with a little filler of some sort. You really can’t notice unless you’re down
on your hands and knees anyway.


It has taken us a few weeks to lay the floor. We have had
a few full days over the weekend, but then a lot was done after work each
night.
The floor is not perfect, there are a few
imperfections here and there, but really I don’t think you can tell unless I
point out where they are… so I won’t do that haha.
I think it looks wonderful. I’m so proud of the
outcome and that I had a go and challenged myself. I’ve gained some new skills
but more importantly gained a huge amount of confidence in being able to tackle
these large home projects. Again a huge Thank you to my parents who were just
as much a part of this project as I was. I couldn’t have done it without them.
Ill upload some finished pics hopefully next week.
Ill upload some finished pics hopefully next week.
Then onto stage 2... Painting, cutting and
fitting my skirting boards.


