Friday 22 August 2014

Oh that Sofa!


Let me intrduce you to my fabulous new sofa!

He's the perfect shade of grey, very comfortable and suits my house perfectly. I found him at The Sofa Shop (very creative name hehe) back in May, and he's been waiting in his box in my parents shed ever since. It was so fun to finally unbox and see him in my new living room.

At first I wasnt completely sold on those arm roll cushions but they are growing on me, so they might stay. Below is a pic without them.


But I definitely need to add some throw cushions, I've been holding off ever so patiently for months and now I can finally go pick some out which will be great fun.

The sofa will be paired with some other chairs which have been a DIY project I've been working on, I'll reveal more soon, once they are complete.


There's not a lot of furniture which I am planning to buy new for my home. Instead a lot of items will be repurposed or built. However one piece which I wanted new was a 3 seat sofa/lounge.
 
I hunted for months and months, even before I signed my building contract, I'm pretty sure I was researching sofas. Crazy I know, but maybe not so crazy for us interiors lovers. Im sure I'm not alone. Anyway finding something I liked was quite a challenge, mostly due to budget restrictions. I didn't have thousands to play with and therefore that restricted my choices somewhat. Also living in South Australia, we seem to miss out on alot of the great items available interstate and overseas.
 
After months of trawling the shops I narrowed my selections down to a couple of sofas that fit my budget. Although they are quite different in style they were...The Parlour from Plush Sofas and the IKEA Stockholm. but neither really felt right, you know that gut feeling when you just know something is right. Well I just wasnt getting that feeling.... But then a strike of fate took me into the SofaShop, somewhere I'd never been before, and there he was, and on sale too, wooop. The customer service was also amazing, especially compared to some of the other shops I had been to. I dont know about you but I'd much rather buy from a place that has helpfull and attentive staff over one that doesnt.


Anyway Im excited to use this as my base for the design of the Living Room. I think its a great start and I know will work in well with my future decorating plans.
 

Tuesday 19 August 2014

Sealing Grout to keep it pretttty!

Sealing the grout in my bathrooms and laundry was a must for me, up there with the most important jobs. I had done a lot of research and knew it was my best chance at preserving my grout, keeping it in the best condition I could. I believe nice clean grout makes a huge difference to the look of tiles. Everyday living can get grout pretty grubby.

I selected white grout in my ensuite bathroom, which is the worst colour to keep looking clean, and my main bathroom and laundry have a light grey grout. So it was important to me that I at least try to keep it nice. Over time yes, it might not look as good but at least I would know that I did all I could.
I’m no expect in the matter. I don’t have any special knowledge of grout or bathroom design. I don’t even have any family or friends in this area. So all I could do was turn to trusty google in search of a product that would suit my needs.
From my research the best product I could find here in Australia, was a product called Sealers Choice Gold by AquaMix. I think this stuff must be made of gold because it is pretty pricy. I think I paid about $90.00 for 473ml. But hey, that’s a small price to pay if it works. It’s a penetrative sealer which soaks into the grout.


I made sure all the grout was clean before I got started but giving it a good scrub with warm water, I didn't use any detergents as I figured it may affect the sealer.
I decided to apply mine with a tiny paint brush, I didn’t want to get it all over the tiles in case it left any residue. It does say on the label that it can darken, or lighten some surfaces. I also didn’t want to waste any of it.


I applied two coats, it took quite a while I won’t lie, but definitely wasn’t a difficult job. I think if you had smaller tiles it would definitely take a lot longer as there would be more grout lines.  I had a cloth handy and wiped away any runs straight away.
It dried completely clear, you can’t tell that anything had been put on it at all. I wouldn’t say it has a strong smell either. I didn’t have to open windows or anything for ventilation which was good because its freezing here at the moment.


So I guess only time will tell if it does the job. Hopefully, fingers crossed it will. I do have quite a bit left over so I’ll pop it in the cupboard and do another coat in the future if it needs it.

If anyone has any great tips for regular cleaning and maintenance of grout I'm all ears x

Friday 15 August 2014

Laying my laminate Flooring... Part 1

When I set out to install my flooring myself I knew it would be a challenge. However I really wanted to give it a go. Although I’ve never really done anything like it before, I almost wanted to prove to myself that I am capable of doing these challenging things which a lot of people would rather just pay someone else to do.

Lucky for me, I have amazing parents who are overly supportive and encourage me to have a go at everything. They also had some great knowledge after laying their own floor about 9 years back. Mum also volunteered to help with the actual laying, as really it is a job that requires two people.
I won’t do any fancy tutorial as really I don’t see myself as an expert at all, and really we just figured it out as we went along. I’m sure there are better ways of doing things but we did what worked for us and I think the result is looking pretty amazing.

We're still not quite finished, just a few last rows to go in which will hopefully happen this weekend. We are also yet to install the skirting timbers, so the floors are not fully complete yet.

….....................

So heres a little run down of how we did it.
First up we laid the underlay, basically just a thin foam with a waterproof barrier which helps protect moisture coming up from the slab and damaging the boards. We just stuck it together with tape, nothing fancy it really doesn’t need to be as the boards hold it all down.
 
I then used our new multi-tool to undercut my doorways. This tool is awesome, we just used a spacer the right height to rest the blade on, and then it just cuts its way through. This one was only about $60 and came with heaps of different accessories. You can get better quality ones but for this job this was more than adequate. It cuts a perfectly even line.


Then there was quite a bit of umming and ahhing over where to start, we decided to start in the end bedroom, so we could get a bit of practice in before laying the more important living areas.
We used spacers, all the same size to ensure we left an expansion gap. These types of floors can expand and contract in different temperatures and humidity levels so this is important. My spacers were 8mm thick, this was to enable my 12mm skirting timbers to be able to cover the gaps. As we progressed some of these gaps were a bit bigger and some a bit smaller, it would be impossible to get it perfect.


To install the boards is actually a very simple process as they just click together, generally we would click them in sideways, and then tap them down with a hammer to ensure they were locked tightly together. We cut the end off a board and used this as our ‘tapper’ as the grooved edges fit together and the bagging doesn’t damage the boards then. The tapper starts to look a bit worse for wear after a while. Occasionally the layout would require the boards to be laid end-to-end first and then tapped sideways.

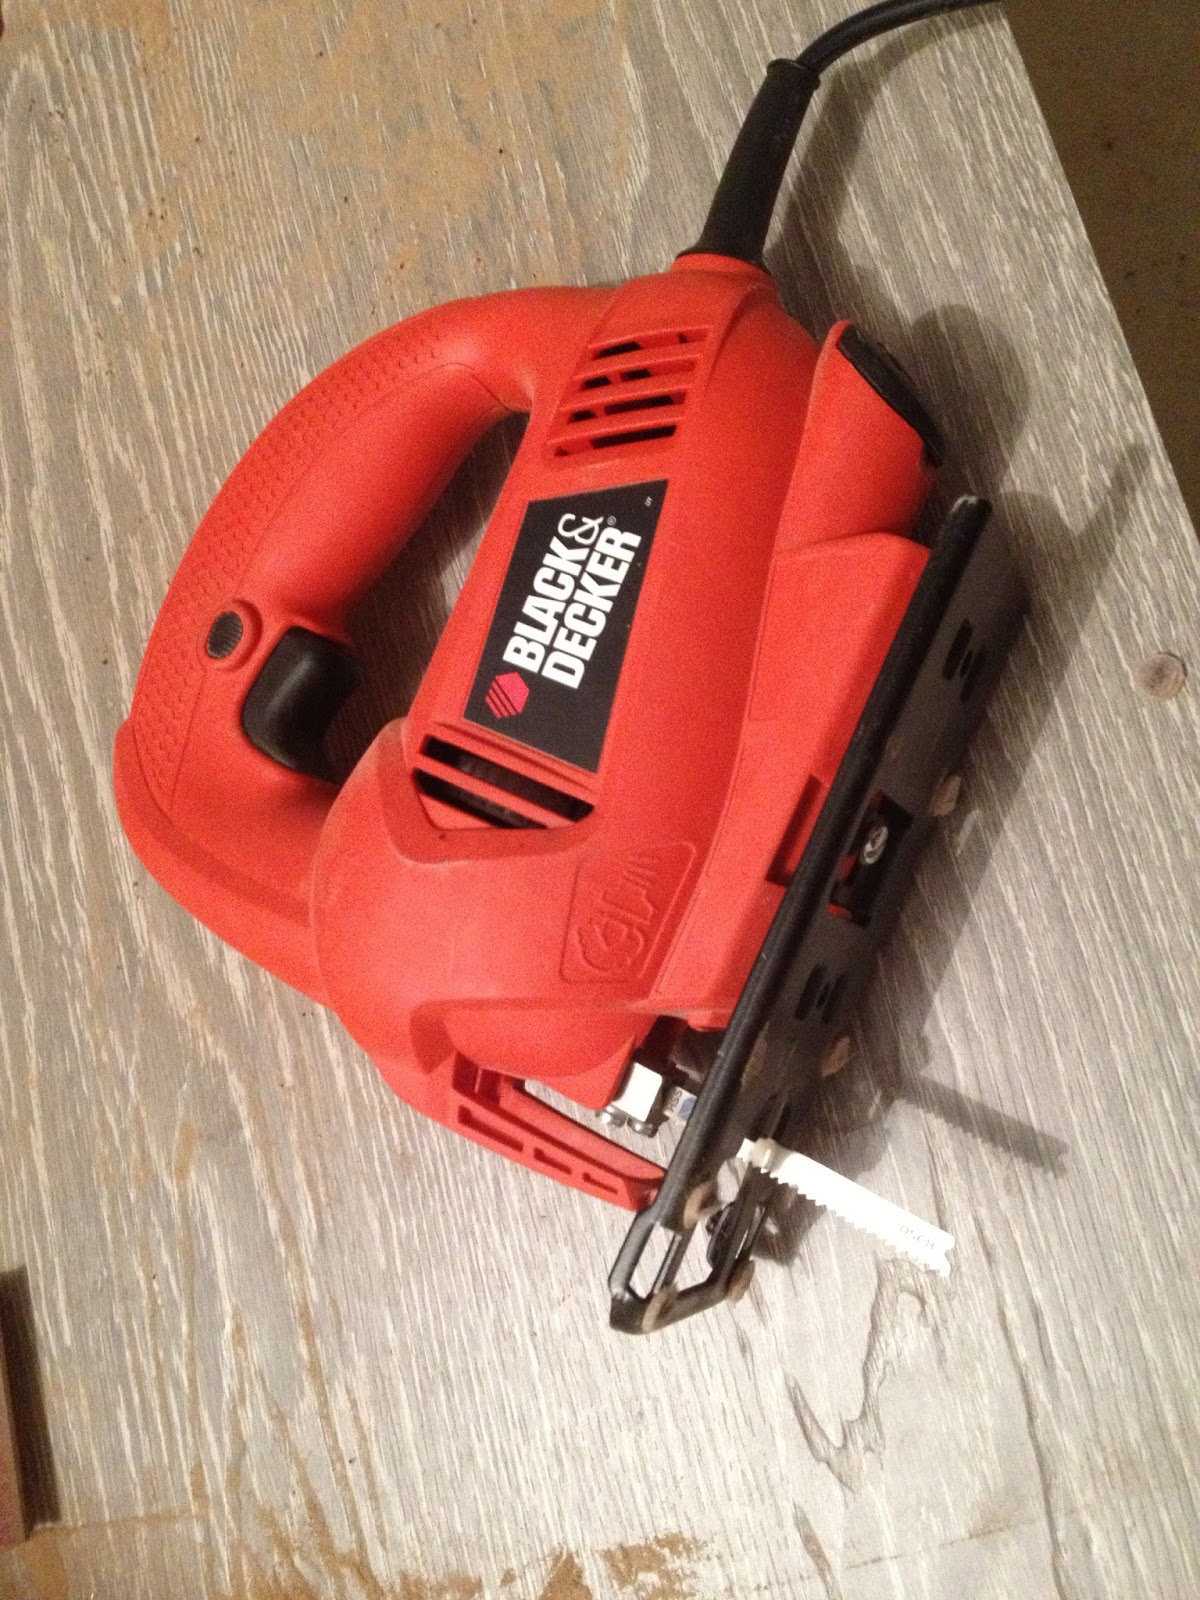
A lot of cuts were required to get boards the right length and also to cut around the doorways and angles. We used my new jig saw which was a Christmas gift from my parents, it worked really well. We clamped boards down so they didn’t move about.


We went through A LOT of blades though. My boards are 12mm thick, and must be pretty tough because after a while blades would get blunt and make cutting really hard. We tried a variety of different blades, wood and metal blades, also different brands, but none really seemed to last any longer than others. Our preference was probably the metal blades as the cuts were slightly smoother.

We went against the instructions which recommended all cuts be made from underneath to prevent chipping. After a few practice runs we found our blades weren’t making any significate chips on the top anyway. This made marking out cuts a lot easier. We stuck little felt pads on the bottom of the jig saw to ensure it didn’t leave any rub marks as we made the cuts.

Cutting around doorways was difficult and very time consuming, I must say it tested my patients a few times. In some cases we were able to slide the boards underneath the door frame for a seamless look. But in some areas this was just not possible. Therefore we cut the boards as close to the exact door frame size as we could and I will fill in the small gap with a little filler of some sort. You really can’t notice unless you’re down on your hands and knees anyway.


It has taken us a few weeks to lay the floor. We have had a few full days over the weekend, but then a lot was done after work each night.
The floor is not perfect, there are a few imperfections here and there, but really I don’t think you can tell unless I point out where they are… so I won’t do that haha.
I think it looks wonderful. I’m so proud of the outcome and that I had a go and challenged myself. I’ve gained some new skills but more importantly gained a huge amount of confidence in being able to tackle these large home projects. Again a huge Thank you to my parents who were just as much a part of this project as I was. I couldn’t have done it without them.

Ill upload some finished pics hopefully next week.
Then onto stage 2... Painting, cutting and fitting my skirting boards.

Tuesday 12 August 2014

A few pics..

So in all the excitement of handover day I didnt realise that my camera was on manual focus and most of my photos came out blurry. But anyway heres just a few as promised...


I hung a few temporary paper blinds up to give some privacy...and also a few honorary sheets. Which are all still up :o


Im currently still laying my flooring which is taking a little longer than expected but its nearly finished. Its so nice not to be walking around on that concrete floor anymore. I'll share pics and details very soon..

Thursday 7 August 2014

Keys!!...

So handover was almost two weeks ago now and wow the time has flown, I've been flat out but its been great!
 
The actual handover went pretty smooth, well kinda, a few small minor hiccups. I had handover booked at the house for Friday 25th July 1pm.
 
Most of the last minute jobs to be done by the builders were completed, these included replacing a few scratched panels in the kitchen, wall paint touch ups, replacing a panel in my glass door as it had a scratch, tidying up silicone around the kitchen sink etc. and the final appliances, hot water system etc were installed that day also.
 
My site supervisor did however, bring the keys and paperwork for the wrong house! my heart stopped when we both realised. I was thinking, oh no, that means no handover as it wasn't feasible to just go and get my paperwork as the head office is over an hour away. But in the end, after a few phone calls, he left me with a construction key so I could have access and then returned the following day with the correct paperwork and keys. Pheww. I think he felt pretty silly.
 
So since keys, I've been flat out cleaning, sealing the grout in my bathrooms, laying my flooring, putting up some temporary fencing, hanging blinds, security lights, the list goes on.
 
I've also had my air conditioner, carpet and kitchen lighting installed. Ill do some more detailed posts on everything later, once I've had a bit of time to digest what's been happening.

I did have a few days off work which helped to get a few things done but now I'm back to work its been a bit harder to make significant progress. but good things take time right!

Anyway I better get back to it, I promise more updates and pics very soon.

Libby xx